Cookies and Cream Doughnuts

IMAG3672

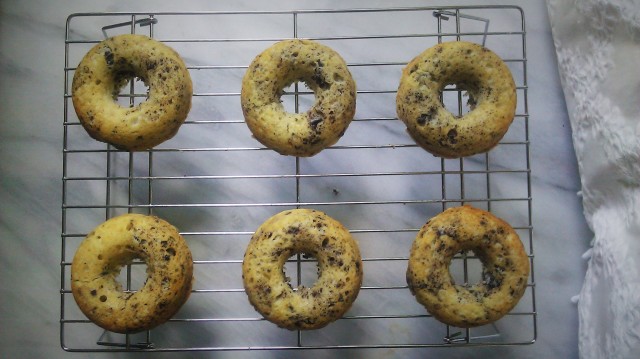
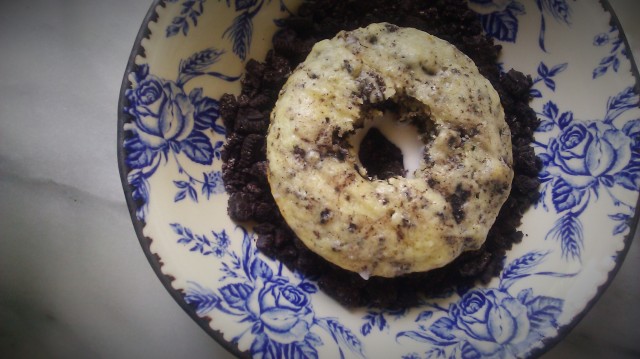
These are probably some of the most beautifully flavoured doughnuts I’ve made thus far in my doughnut quest.  When I threw them together yesterday, I knew I had to whip up another batch to share with you all (which was very hard to do, I assure you).

IMAG3650

IMAG3652

IMAG3656

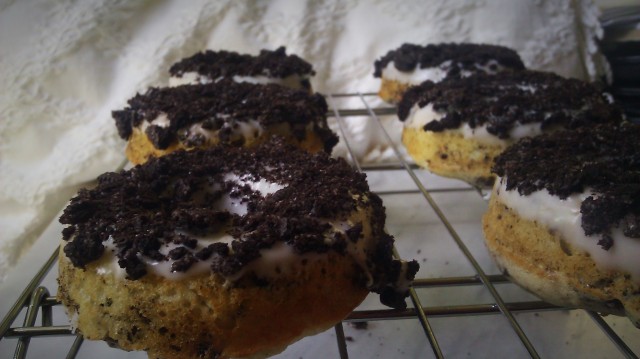
The inspiration for these fellas came from the fact that the only ice cream we’ve been eating of late has been cookies and cream.  So, this also coinciding with my possessing a (amaaazing) doughnut pan, I was quickly inspired to try and bake a version of one of my favourite ice cream flavours.  Taking my go-to basic doughnut batter and adding some extra vanilla extract, I proceeded to fold in crushed chocolate sandwich cookies (TJ’s Joe-Joe’s are definitely recommended).  Upon baking them up and icing them, I was shocked at how tasty they actually turned out.  They genuinely taste like a cakey, baked form of cookies and cream ice cream.

IMAG3657

IMAG3662

IMAG3663

But enough talk.

IMAG3664

Go to the grocer’s.  Buy some chocolate sandwich cookies.  Make these doughnuts.

IMAG3665

IMAG3666

COOKIES AND CREAM DOUGHNUTS

Base doughnut recipe loosely inspired by Joy Wilson’s recipe.

Doughnuts

  • 145 grams / 1 cup unbleached all purpose flour
  • 80 grams / 1/3 cup unrefined cane sugar
  • 1/4 teaspoon baking soda
  • 3/4 teaspoon baking powder
  • heaping 1/4 teaspoon kosher salt
  • 1 large egg
  • 30 grams / 2 tablespoons unsalted butter, melted
  • 100 milliliters / scant 1/2 cup plain yoghurt
  • 50 milliliters / scant 1/4 cup whole milk
  • 2 teaspoons pure vanilla extract
  • 100 grams / about 8 chocolate sandwich cookies

Glaze

  • 120 grams / 1 1/2 cups confectioners sugar
  • 15 grams / 1 tablespoon unsalted butter, melted
  • a pinch of kosher salt
  • 2-3 tablespoons whole milk
  • about 50 grams / 4 sandwich cookies

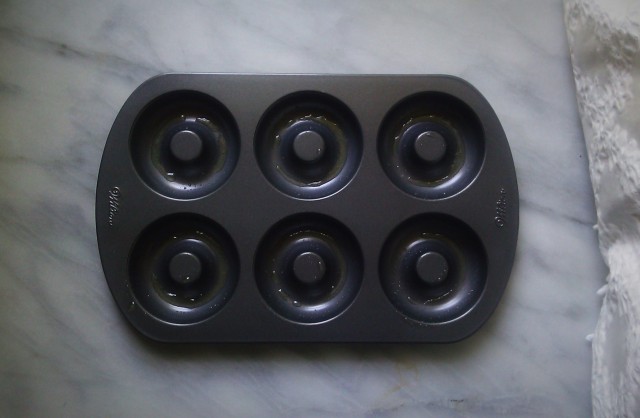
Begin by preheating your oven to 350 degrees F with the rack in the upper third of your oven.  Grease a six-cup doughnut tin and set aside.

In a medium bowl combine the flour, sugar, baking soda, baking powder, and salt.  Set aside.  In a smaller bowl, whisk together the egg, yoghurt, milk, and vanilla; then add in the melted butter slowly.  Set aside.  Place the 100 grams of sandwich cookies into a sealable plastic bag and crush the cookies by rolling a rolling pin over them.  You want them to be moderately crushed with some crumbs and some larger bits.  Set aside.

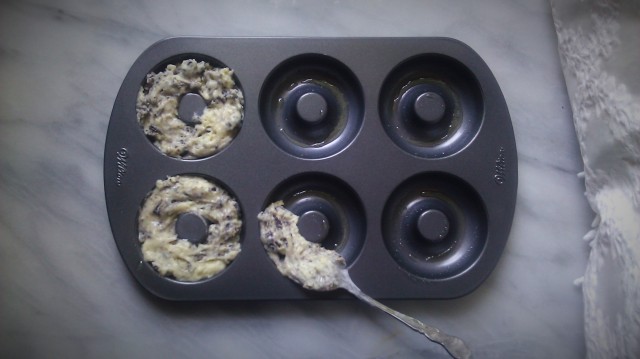
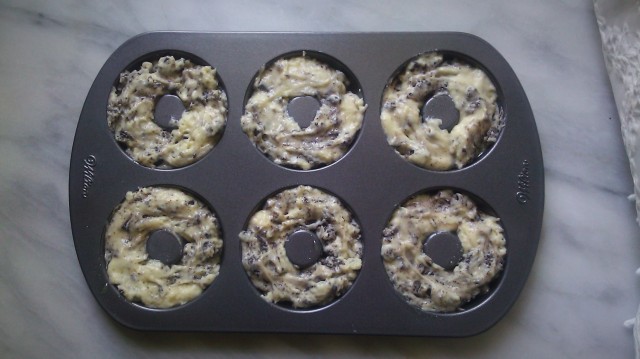
Pour your wet ingredients into the flour mixture and mix until just combined.  Dump in your sandwich cookie crumbs and fold in until just combined.  Spoon the batter into the doughnut tins until they are a little less than level with the edges.  While these doughnuts rise considerably, I do like to let them be pretty full for nice, large doughnuts.

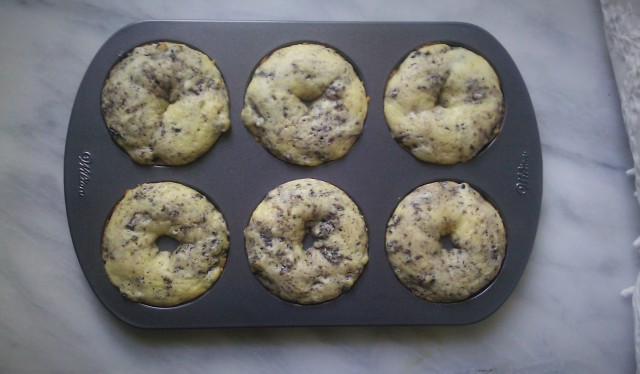
Pop in the oven and back for 8-10 minutes, or until a toothpick inserted near the center comes out clean.  They will brown slightly.  Immediately flip them out onto a cooling rack to cool completely.  They will have likely risen a little over the hole, so with a sharp knife, trim them slightly as necessary.

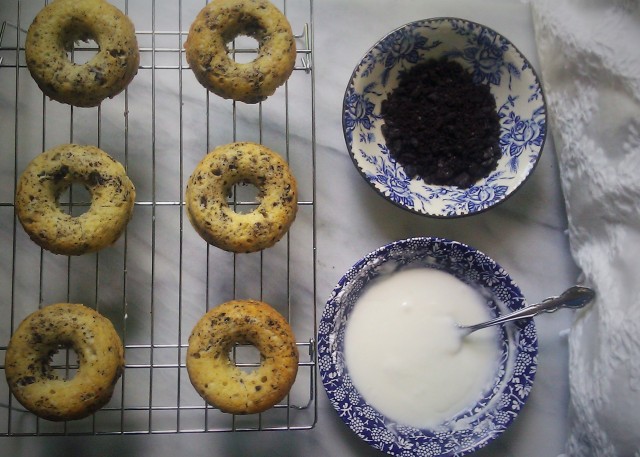
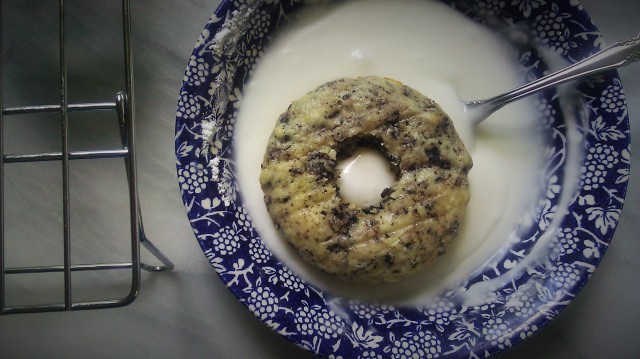
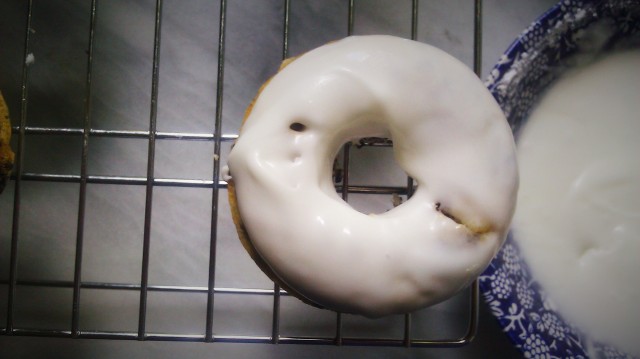
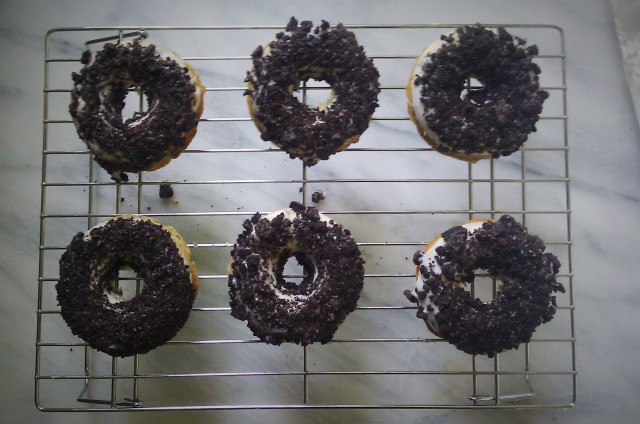
Once the doughnuts have cooled completely, prepare the glaze by whisking together the confectioners sugar, salt, melted butter, and milk until smooth.  Crush the remaining sandwich cookies until they are quite fine and place them in a shallow dish.  Dip the top of a doughnut into the glaze and then place the glazed portion in the cookie crumbs to coat.  Flip over and place on the cooling rack to let the glaze set completely.  Repeat with the remaining doughnuts.

Doughnuts will stay fresh in an airtight container kept in a cool place for up to two days.

Makes 6-8 doughnuts
IMAG3669


National Convention 2014: Registration

View More: http://marvelousthingsphoto.pass.us/tpnc2014

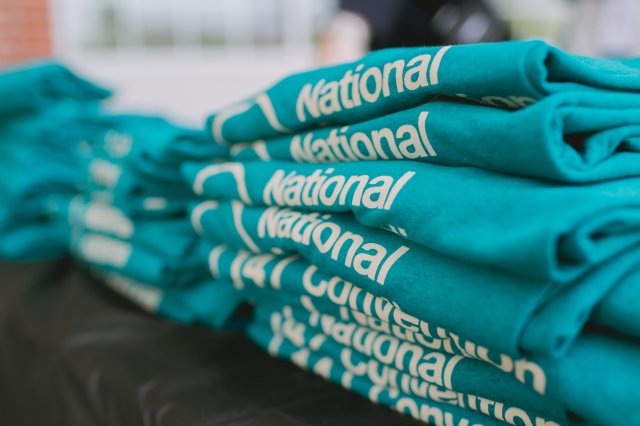
(2014 TeenPact NC T-shirts; photo credit: Tori Watson)

So I’ve been working a lot at trying to find some way to compile the glories and wonders of TeenPact National Convention into one post, and I have come to a conclusion.  It simply isn’t possible.  That said, I think it is possible to carve out some sort of scope of NC in multiple posts–a series.  So I will be attempting to do a weekly series on the various aspects of NC.  I do hope you enjoy.  (For those of you confused as to what I’m going on about, check out my first TeenPact post.)

This year, NC was held on the campus of Lee University in Cleveland, Tennessee.  Since I live in Alabama, I decided to fly up into Chattanooga as many other TeenPacters were.  At the end of an early morning flight, I arrived at the Chattanooga airport sometime around noon.

Upon passing through security on my way to baggage claim I was immediately greeted by the big smile and firm handshake of the TeenPacter who had been sent to pick me and several others up from the airport.  Stuart was his name and we proceeded to talk and stand around as we waited for more TeenPacters to arrive.  It wasn’t long, and soon I was surrounded by people from Washington to Texas to Pennsylvania and Wisconsin.  Soon we and our bags were piled up into a van and headed to Lee University.

Now, as I have learned from talking with other TeenPacters, registration (the first event of the first day) is a big deal.  And it is.

View More: http://marvelousthingsphoto.pass.us/tpnc2014

(photo credit: Tori Watson)

Driving into Lee, dozens of TeenPacters stood by the road, holding National Convention signs while shouting welcomes with smiling faces.  Once bags were unloaded, I headed up to the registration tables where hundreds of TeenPacters clustered, joyously reuniting with old friends, as they got their badges and papers.  Knowing only approximately thirty TeenPacters at the time, I recognized no one, but was not disheartened.  I would soon get to know these lovely people surrounding me, but my first mission was to get all the papers I needed!

View More: http://marvelousthingsphoto.pass.us/tpnc2014

(TeenPact welcome committee; photo credit: Tori Watson)

View More: http://marvelousthingsphoto.pass.us/tpnc2014

(More TeenPact excitement; photo credit: Tori Watson)

View More: http://marvelousthingsphoto.pass.us/tpnc2014

(Rachel and Aaron ready to go; photo credit: Tori Watson)

View More: http://marvelousthingsphoto.pass.us/tpnc2014

(Reuniting; photo credit: Tori Watson)

View More: http://marvelousthingsphoto.pass.us/tpnc2014

(photo credit: Tori Watson)

The young men and women manning the various stations (food ticket, ID, room key, elections, ultimate frisbee, and volleyball) were, as I would soon find out, the 2014 TeenPact Intern team.  As I walked from table to table to get my stuff, I didn’t know any of them, but they didn’t seem to care.  They greeted me with the same warmth and radiance that you would greet a friend you hadn’t seen in ages.  Walking away from registration and to my dorm with my luggage, I was charged.  I was ready to give this week my all!

Having settled my luggage in my dorm room, I headed back outside where I ran into TeenPact Alabama staffers, Hannah Funk and Zach!  Hanna was running with Isaac Moore in the #GotMooreFunk? campaign for TPN (TeenPact Nation) vice president.  But now that’s getting away from registration and into elections, which is a whole other post in itself.

So I will have to end it here for now.  Stay tuned for more NC excitement including a “Do You Want to Build a Snowman” parody, Inception with a Beach Boys twist, afternoon guitar sessions, more ultimate frisbee and volleyball than could be imagined, and fire jugglers!

View More: http://marvelousthingsphoto.pass.us/tpnc2014

(Reistration at Lee University; photo credit: Tori Watson)

Brown Butter Banana Bread

IMAG3607

So I’m currently at the airport.

IMAG3606

I just finished the best week of my life.

IMAG3609

What did I do, you ask?

IMAG3610

Well, I’ll make a post about it, so you’ll just have to wait until then.

IMAG3614

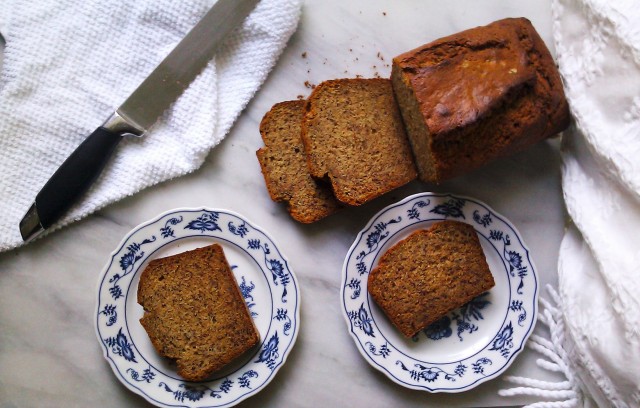
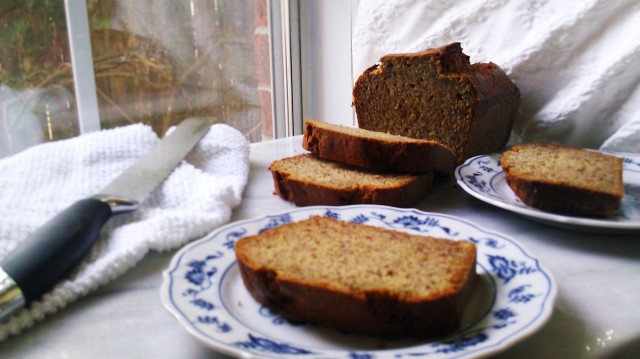
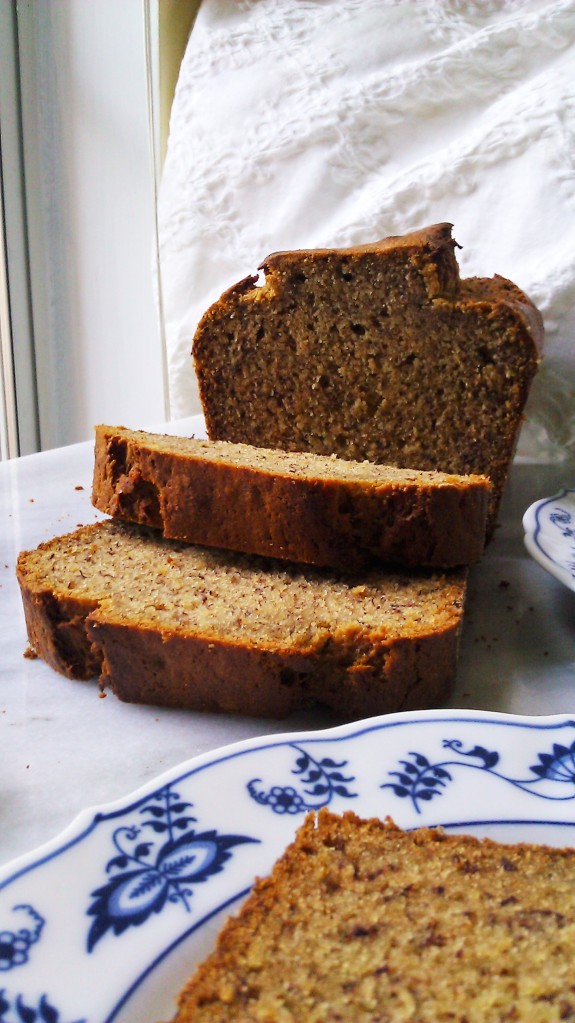
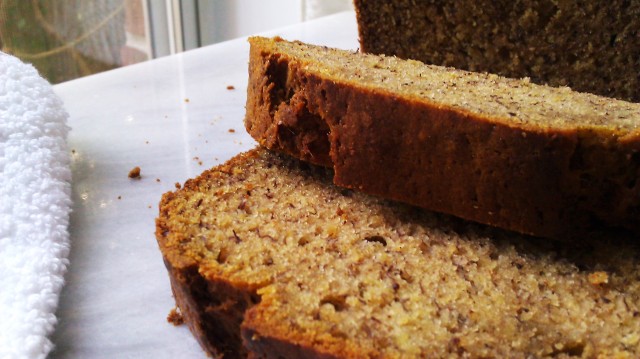
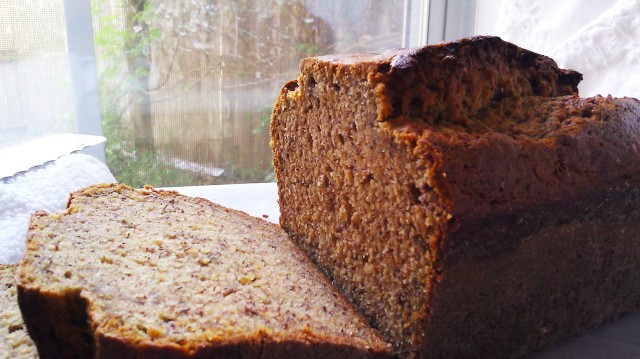
Also, this is the best banana bread ever.  No joke.  Enjoy, dolls!

BROWN BUTTER BANANA BREAD

From the ever-fabulous Joy the Baker

  • 170 grams / 6 ounces butter, browned and cooled
  • 280 grams / 2 cups unbleached all purpose flour
  • 165 grams / 3/4 cup unrefined cane sugar
  • 1 teaspoon baking soda
  • 1/2 teaspoon kosher salt
  • 3/4 teaspoon ground cinnamon
  • scant 1/2 teaspoon freshly grated nutmeg
  • 2 large eggs
  • 60 milliliters / 1/4 cup buttermilk
  • 1 teaspoon pure vanilla extract
  • 3 medium/large ripe bananas, mashed
  • 2 teaspoon unsulphured molasses

With your rack in the center of your oven, preheat it to 350 degrees F.  Butter and flour a 9×5 inch loaf pan and set aside.

In a medium bowl, combine the flour, sugar, baking soda, salt, cinnamon, and nutmeg.  In another medium bowl, beat together the eggs with the buttermilk and vanilla extract.  Add in the bananas and mix, and then add in the molasses and mix that as well.  Making sure the butter is sufficiently cooled (you’re looking for about room temperature, but it can be a little bit warmer), mix that in.  Pour the liquid ingredients into the dry ingredients and, with a wooden spoon, mix together the batter until just combined (be sure not to overmix).  Pour the batter into the loaf pan, smooth the top, and pop it into the oven.  Bake for 50-60 minutes, or until a cake tester inserted near the center comes out clean.

Once the bread is baked, place it in its pan on a wire rack and allow it to cool in the pan for 15 minutes.  Once 15 minutes is up, loosen the bread around the edges of the pan with a butter knife and turn it out onto a wire rack to cool completely before serving.  The loaf will remain fresh wrapped up in plastic wrap in a cool place for up to four days.

Serves 8-10

Kiwi Fruit Mask

IMAG3555

So today I bring you something that I have been doing for my face lately.  A homemade fruit acid mask!  It has been working wonders on my sensitive skin, as it utilizes the same principles that an AHA mask does, but with a much more gentle touch.  The effect of the mask is to brighten and smooth out your skin, so it’s something I like to try and do on a weekly basis, especially the night before a big event.  In addition, the rice paper helps to nourish the skin while helping to hold the fruit mask in place.  So, do enjoy, dolls.

IMAG3559

IMAG3558

IMAG3562

IMAG3564

IMAG3565

IMAG3568

IMAG3574

IMAG3576

IMAG3577

IMAG3578

KIWI MASK

I make absolutely no guarantees that this will work for everyone’s skin; it’s just something that works for mine, so I wanted to share it with all of you.  I have very sensitive, dry to combination skin.  That said, I like this mask as it does not completely strip my skin of any moisture, but it is still important to moisturize thoroughly after this mask.

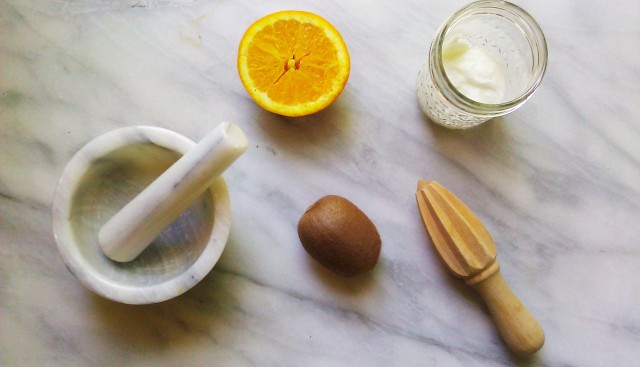
  • 2 tablespoons plain, full-fat yoghurt
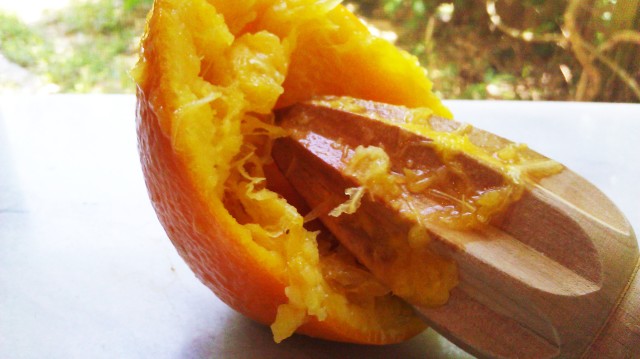
  • 2 tablespoons freshly squeezed orange juice
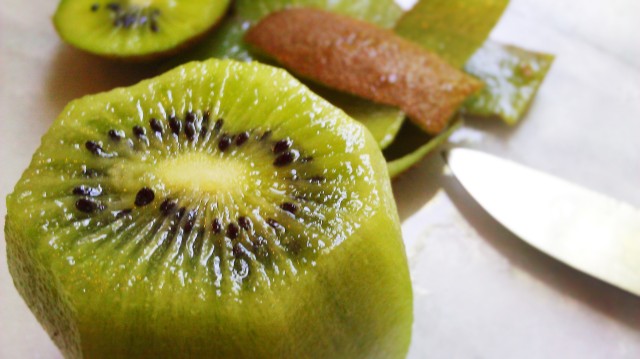
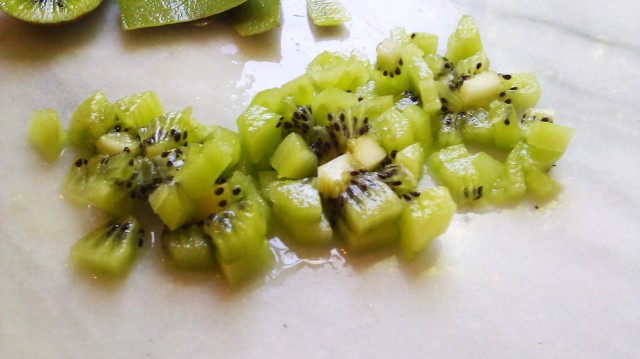
  • 1 kiwi fruit, diced small
  • 1-2 sheets rice paper

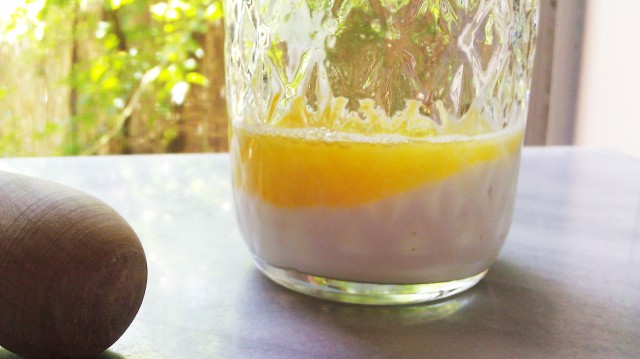
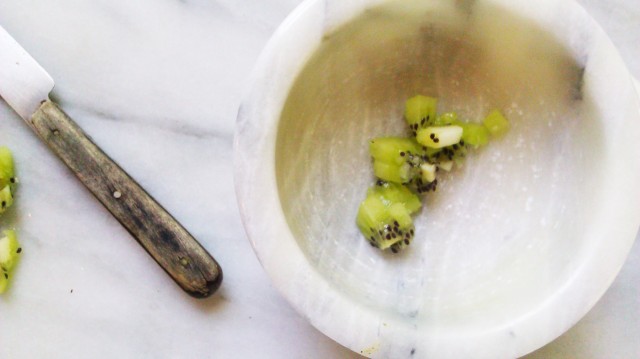
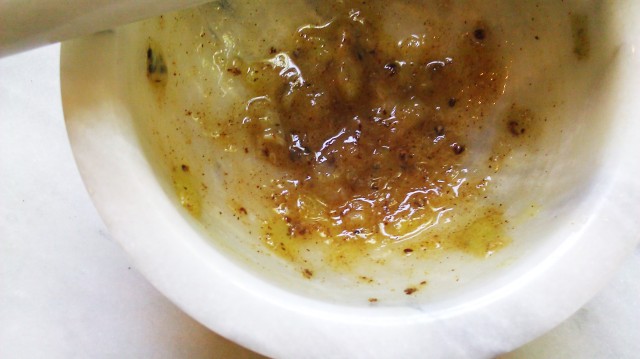
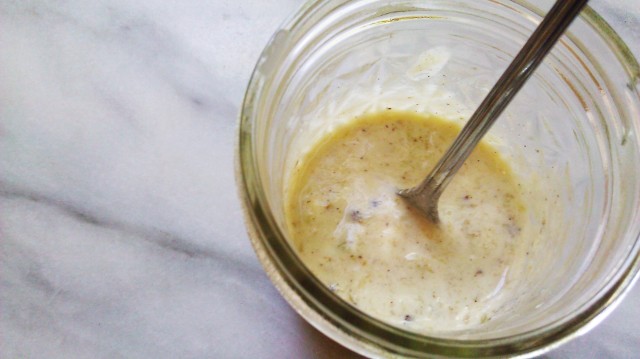
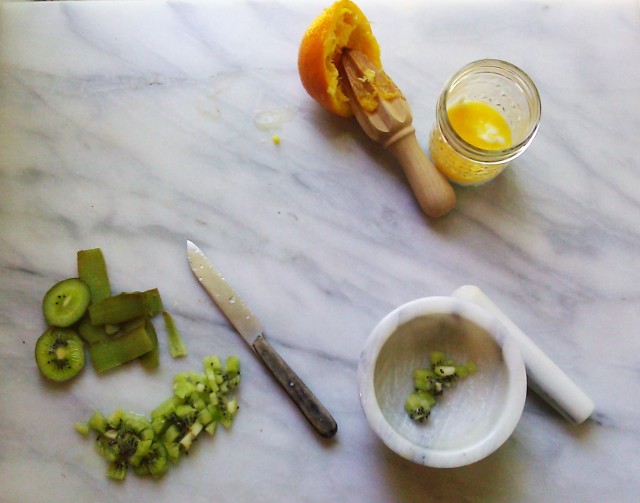
Begin by measuring out the yoghurt and orange juice into a small jar or other storing vesicle.  Then mash the kiwi fruit and crush its seeds using a mortar and pestle.  This will take a bit of effort.  I find it’s easiest to do it if you work in small batches.  Combine the mashed kiwi fruit with the orange juice yoghurt and set aside.  If you are not going to do a mask right away, store it covered in the fridge until you are ready (the mask will keep in the fridge for 3-4 days).

When you are ready for your mask, be sure your face is freshly washed but not yet moisturized.

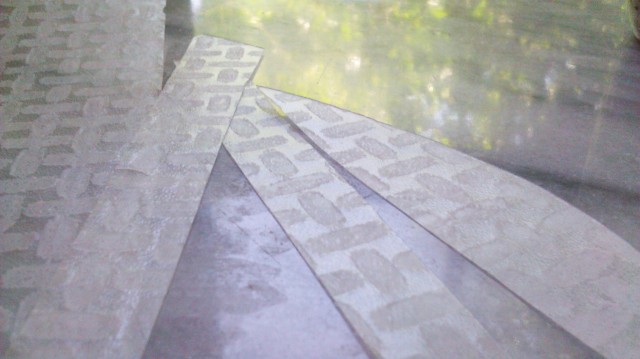
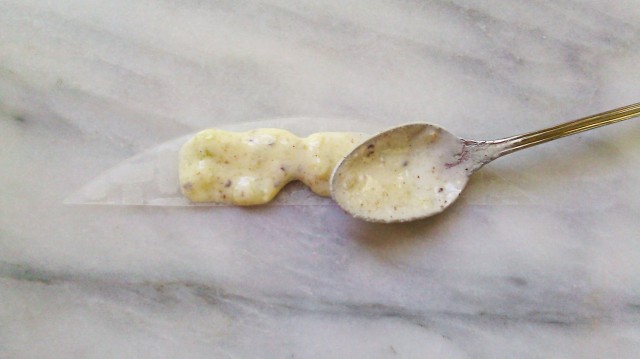
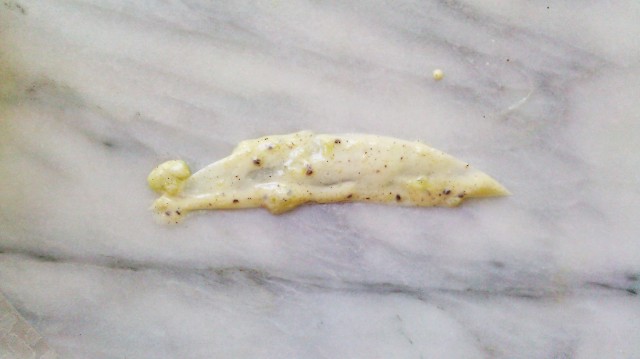
Using scissors, cut the rice paper into strips of varying widths and lengths.  Lay them out and mist both sides with water and let them sit for a few minutes to soften.  Using a small brush, “paint” the kiwi fruit mask onto one side of a piece of rice paper and lay it on your face.  Continue to paint strips and lay them on your face until your cheeks, chin, nose, and forehead are covered.  Leave the mask on your face until the rice paper is no longer slick and has become tacky, which should take 15-20 minutes.  Peel off the rice paper, discard, and rinse off your face with lukewarm water.  Moisturize your face and enjoy your radiant skin!

Makes enough for 3-4 masks

IMAG3566

Pita Bread

IMAG3433

IMAG3435

IMAG3439

IMAG3441

IMAG3443

IMAG3445

IMAG3447

PITA BREAD

Recipe barely adapted from The World Encyclopedia of Bread and Bread Making.

  • 225 grams unbleached bread flour
  • 1 teaspoon kosher salt
  • 140 milliliters warm water (about 120-130 degrees F)
  • 7 grams / 1/4 ounce active dry yeast
  • 2 teaspoons extra virgin olive oil

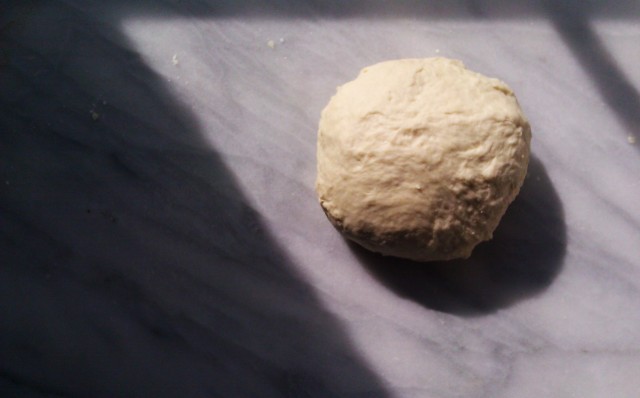
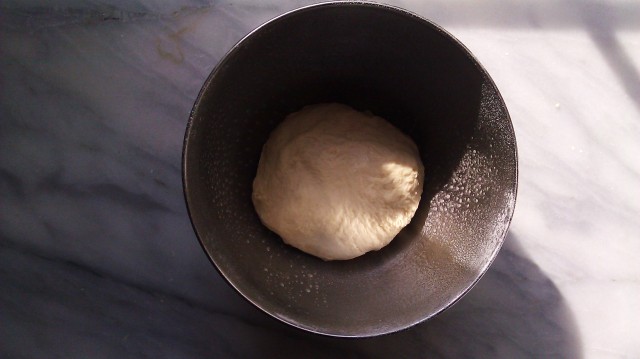
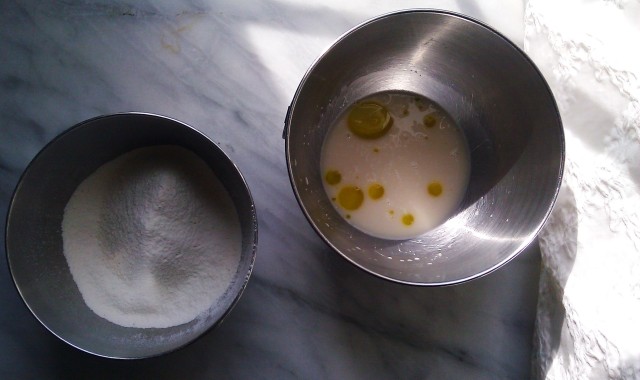
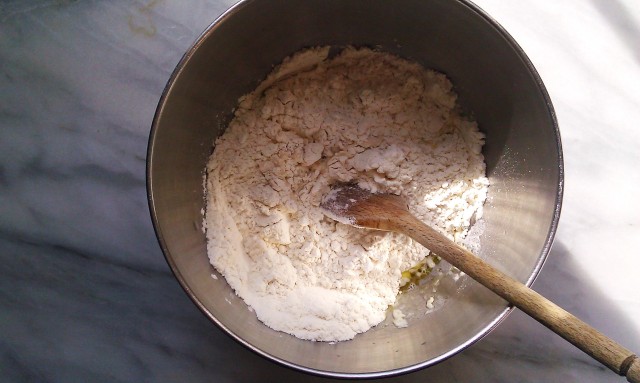
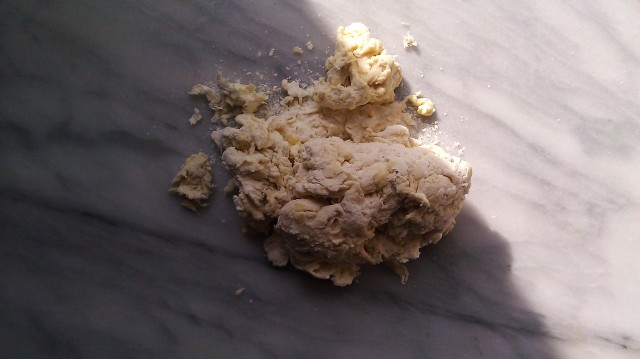
In a small bowl, sift together the flour and salt.  In a medium bowl, mix together the water with the yeast and olive oil.  Gradually add the flour mixture into the yeast mixture and mix together until a soft dough forms.  Turn the dough out onto a lightly floured surface and knead for 5 minutes, until smooth and elastic.  The dough will be slightly sticky, but that’s good–don’t add in too much extra flour.  Place the dough into a greased bowl and cover with oiled plastic wrap.  Leave to rise in a warm place until about doubled in bulk which should take an hour.

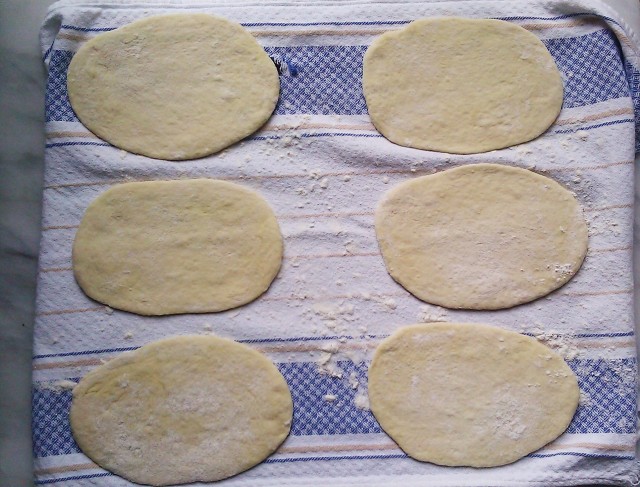
Knock back the dough.  On a lightly floured surface, divide it into 6 equal portions and shape them into balls.  Cover them with oiled plastic wrap and let them rest for 5 minutes.  Once they have rested, take one ball and roll it out  with a floured rolling pin in an oval shape about 5 millimeters thick.  Once all the balls have been rolled out, place them on a floured dish towel and cover with very lightly oiled plastic wrap.  Let them rest 30 minutes.

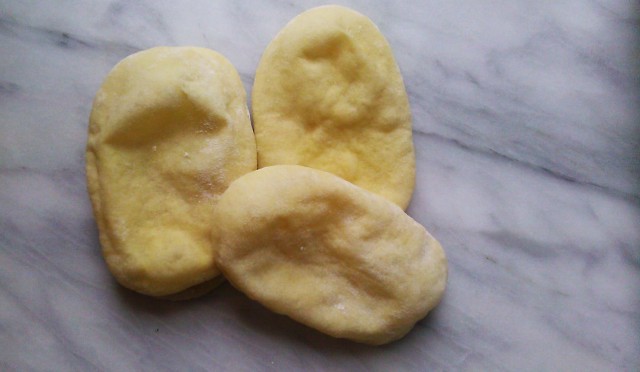
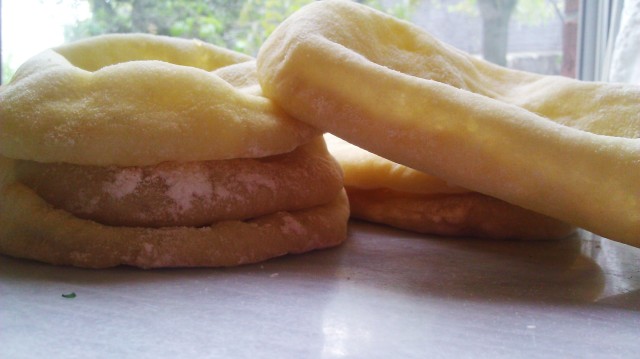
Meanwhile, preheat the oven to 450 degrees F and place a clean baking sheet inside to heat up with it.  When the oven is hot and the pan is as well, place two of the rested pita breads on it and pop them into the oven.  Bake until puffed, but not necessarily golden, about 4-6 minutes.  If, during their final rest, some of the pitas got an oil residue on them, they may not puff as much, but they’ll still taste delicious.  Once the first batch is done, place them on a cooling rack, replace the pan in the oven to heat up again, and repeat the process until all the pitas are baked.  Once they are cooled, wrap them in a towel to stay fresh.

Makes 6 breads 

IMAG3448_1


Fresh Veg Frittata

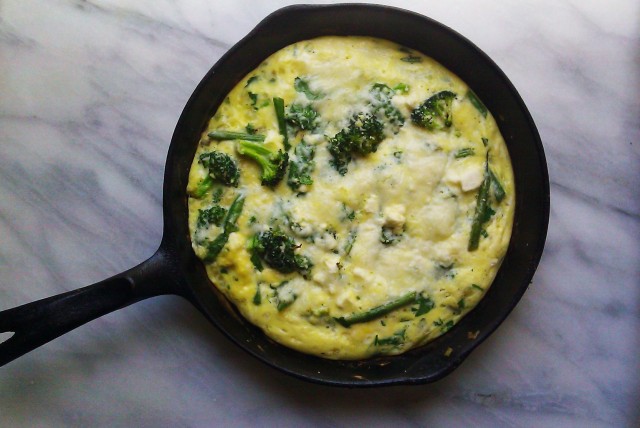
IMAG3491

So today’s recipe is brought to you in part by Jamie Oliver’s magnificent YouTube channel, FoodTube.  Seriously, you have to check his channel out.  It’s awesome and full of inspiration.

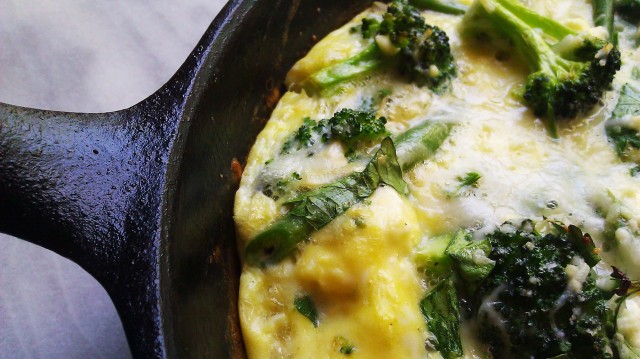
IMAG3494

I love this recipe because it is wholesome, fresh, and an absolute cinch to make.  Not to mention that you can have it whipped up in as little as 20 minutes, 15 if you work fast.

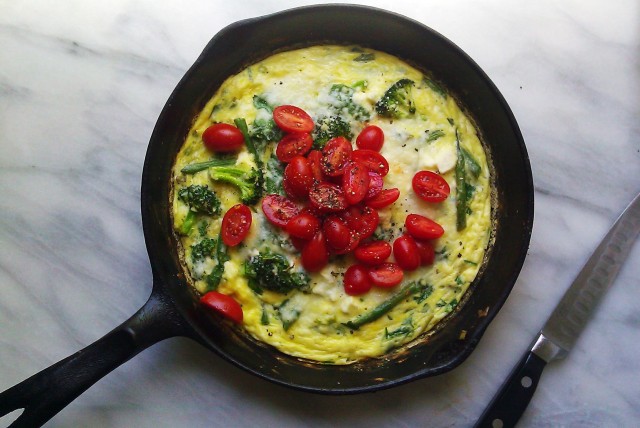
IMAG3495

I’ve kept the recipe loose and basic since the frittata is basically an Italian omelette, and open for loads of adaption.  My tip would be to use whatever’s in season and whatever you’ve got on hand.

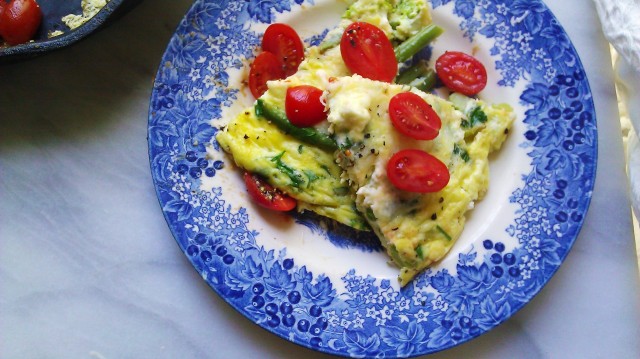
IMAG3498

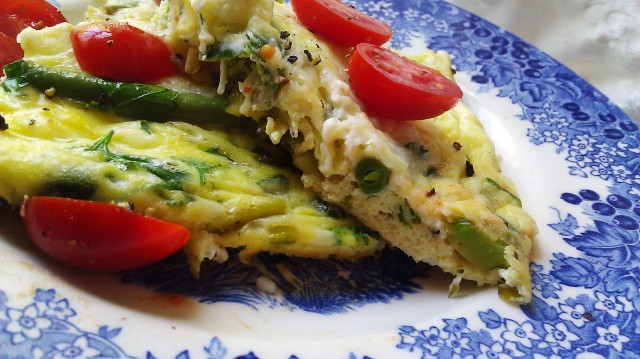
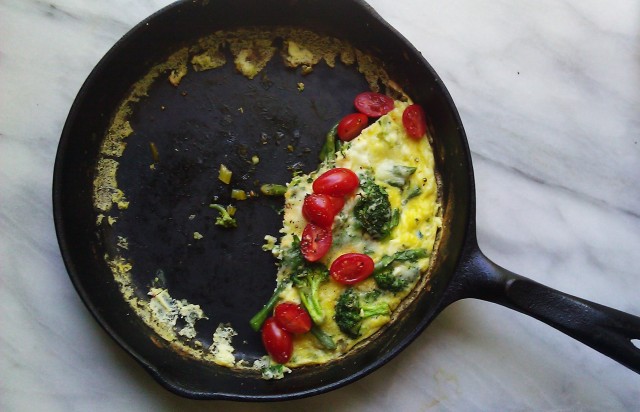
The basic recipe–6 eggs, salt, pepper, and some cheese to top it off–is truly a blank slate and I encourage you to think of it as such.  Go ahead and add in whatever your heart desires.  For my version, I used Italian parsley as the herb, broccoli and haricot vert as the vegetables, and a mix of crumbled feta and mozzarella for the cheese.  It was absolutely delightful.

IMAG3499

FRESH VEG FRITTATA

Inspired by Jamie Oliver’s recipe.

Begin by preheating your oven to 400 degrees F.

In a medium bowl, crack in 6 eggs and beat with a whisk until just broken.  Add in a large handful of freshly chopped herbs (basil, Italian parsley, mint, etc.), a small handful of sliced spring onions, the juice of half a lemon, a generous sprinkle of sea salt, and a generous sprinkle of freshly cracked black pepper.  Whip it together well.

In a medium, oven-proof skillet, add in a knob of butter or drizzle of olive oil and set it over medium-high heat.  Throw in a couple of handfuls of chopped vegetables (zucchini, broccoli, haricot vert, sugar snap peas, asparagus, etc.) and season with sea salt and freshly cracked black pepper.  Toss it around and then pour in the egg mixture.  Let it set over the heat and gently lift the edges as you begin to top the frittata.  Top the frittata with a couple of handfuls of cheese(s) (parmesan, mozzarella, feta, asiago, goat cheese, etc.).

Pop the frittata in the oven and bake until cooked through, about 15 minutes, give or take.  It should be puffed and maybe a bit golden on the top.  Finish the frittata by topping it with a few handfuls of halved cherry tomatoes and a finishing sprinkle of sea salt and freshly ground black pepper.  Serve inside or outside of the pan with a fresh and yummy salad.

Serves 2-3 with a fresh salad

IMAG3501


Brown Butter Chocolate Chip Cookies

IMAG3413

There are some really exciting things going on…  I’ll try to keep you posted as they happen.

IMAG3414

Until then, enjoy the sweets, sweethearts.

IMAG3416

IMAG3419

IMAG3421

IMAG3422

IMAG3428

IMAG3429

BROWN BUTTER CHOCOLATE CHIP COOKIES

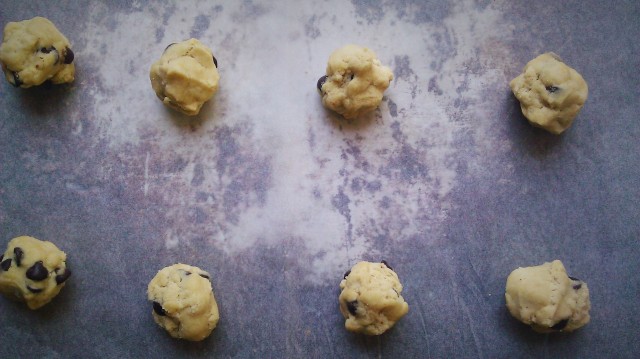
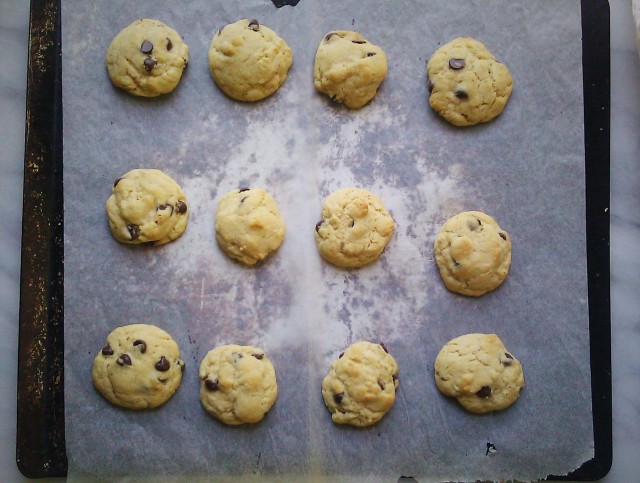
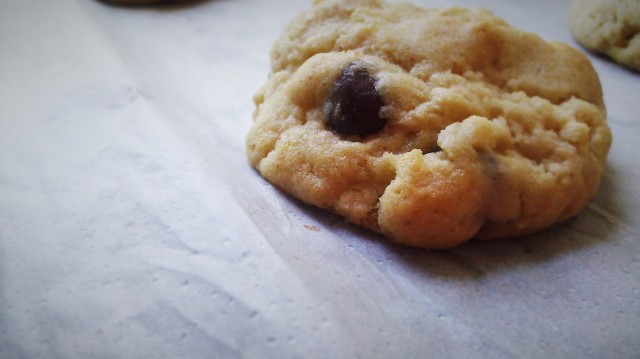
A combination of some of my favourite chocolate chip cookie recipes with my own additions and tweaks.  While the recipe is on the classic side with simply chocolate chips and no walnuts or pecans, I dressed up the flavour with my favourite–buerre noisette.  In addition, a key aspect to these cookies’ enigmatic chewy yet light texture is the combination of bread and cake flours.  This has definitely become my family’s favourite, and I hope it will become yours too!
  • 245 grams / 2  cups minus 2 tablespoons cake flour
  • 245 grams / 1 2/3 cups unbleached bread flour
  • 1 1/4 teaspoons baking soda
  • 1 1/2 teaspoons baking powder
  • 1 1/2 teaspoons kosher salt
  • 110 grams / 8 tablespoons unsalted butter, softened
  • 225 grams / 1 cup plus 2 tablespoons unrefined cane sugar
  • 110 grams / 8 tablespoons unsalted butter, browned and then cooled slightly
  • 280 grams / 1 1/4 cups light brown sugar
  • 2 tablespoons maple syrup or molasses
  • 2 large eggs
  • 1 tablespoon pure vanilla extract
  • 200 grams / heaping cup semisweet or bittersweet chocolate chips

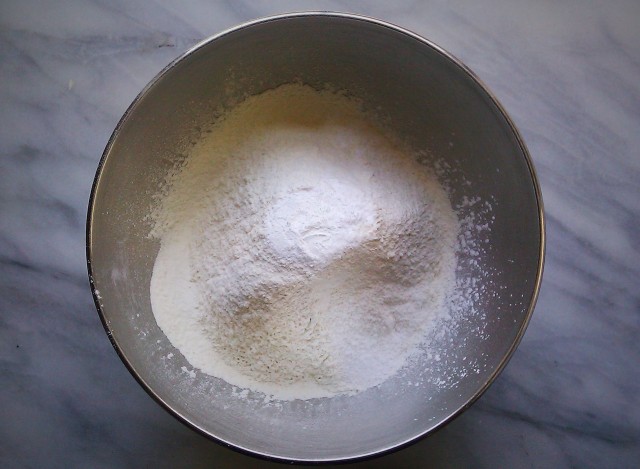
In a large bowl, sift together the cake flour, bread flour, baking soda, baking powder, and kosher salt.  Stir to combine and set aside.

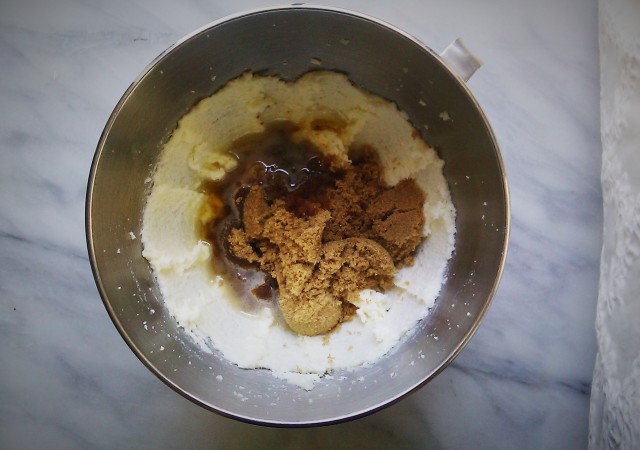
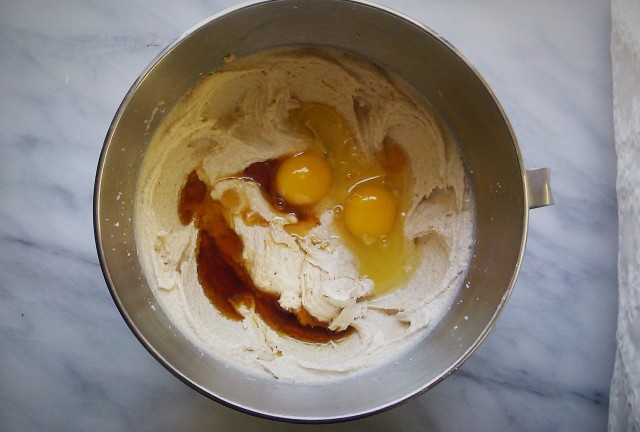
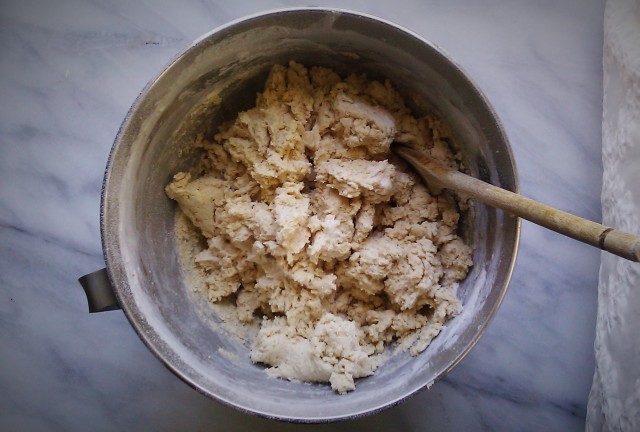
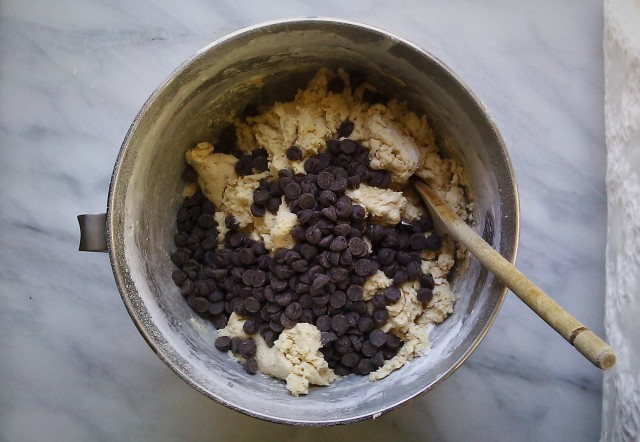
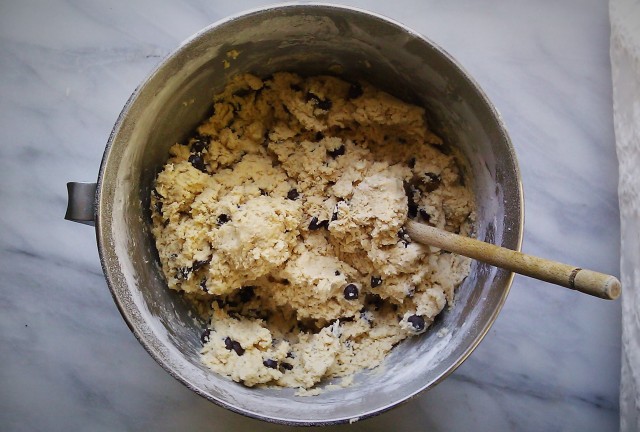
In the large bowl of your electric stand mixer fitted with the paddle attachment, cream together the softened butter with the unrefined cane sugar.  Beat on medium speed until pale and fluffy, 5 minutes.  Dump on the brown sugar and cooled brown butter and mix again until thicker and fluffy, another 5 minutes.  Scrape down the sides of the bowl and add in the maple syrup, eggs, and vanilla extract.  Beat to combine, about 2 minutes.  Dump in all the dry ingredients and combine on low until just combined, about 45-60 seconds.  Remove the bowl from the mixer and, using a wooden spoon, mix in the chocolate chips.  Divide the dough into 2-3 portions and seal each portion in some plastic wrap (kind of flatten it out to make it like a disk) and chill in the fridge for 24-36 hours.

Once your dough has chilled, preheat your oven to 350 degrees F and arrange the racks to the upper and lower thirds of the oven.  Line two baking sheets with parchment paper.  Using two spoons (or a small ice cream scoop), portion the chilled dough into heaping tablespoon portions.  Using your hands, shape them into spheres.  Arrange about 2 inches apart on the baking sheet and bake in the preheated oven for 8-10 minutes, or until the edges are just beginning to turn golden.  Let cool on the baking sheet for 5 minutes and then transfer to a wire rack to cool completely.  Store in an airtight container for up to one week.

Makes 36-48 cookies, depending on their size

IMAG3431


Peanut Butter Granola

IMAG3411

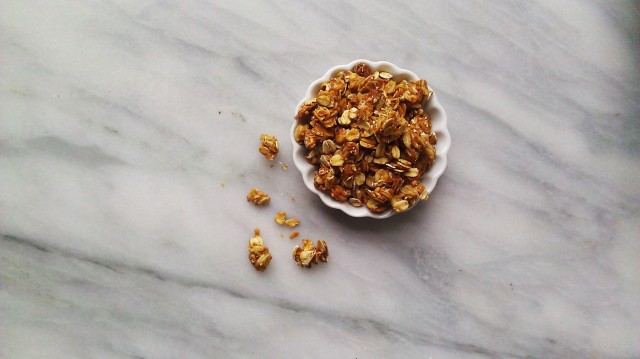
One thing that I seem to eat all the time, yet I’ve never bothered to post is a recipe for granola.  I love homemade granola–it’s great for snacks, dessert, breakfast, a meal…  It’s delicious stuff, and I am also a complete nut-butter addict.  Anywho, I’m keeping my post short today (I’m afraid that’s how most of them will have to go until things quiet down), so enjoy the pictures, dolls!

IMAG3396

IMAG3398

IMAG3401

IMAG3403

IMAG3405

IMAG3407

PEANUT BUTTER GRANOLA

Adapted from Cooking Classy’s recipe.

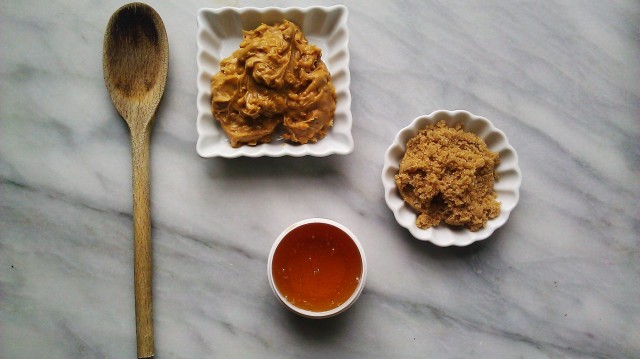
  • 100 grams / 1/4 cup natural chunky peanut butter
  • 2 tablespoons packed brown or muscovado sugar
  • 3 tablespoons light honey, such as clover
  • 1/4 teaspoon kosher salt
  • 200 grams /2 cups old fashioned quick oats
  • 1/4 teaspoon fine flake sea salt

Preheat your oven to 325 degrees F with the rack in the center of the oven.  Line a baking sheet with parchment paper and set aside.

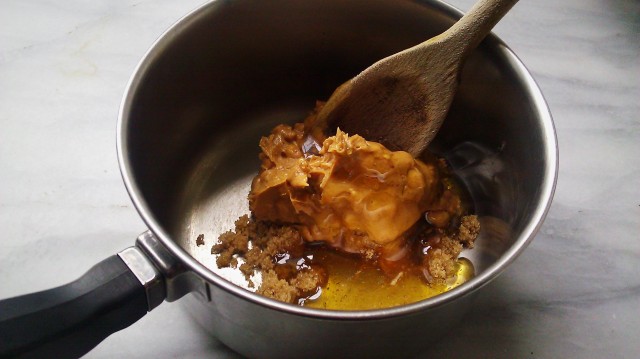
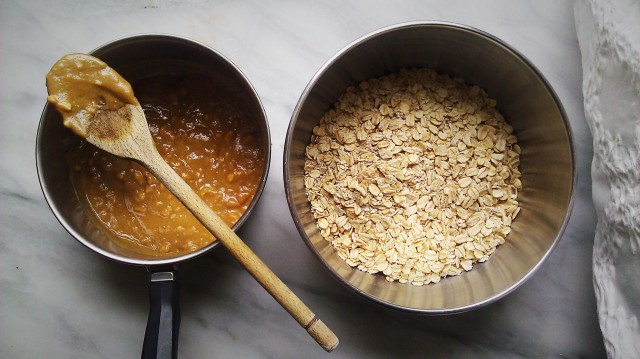
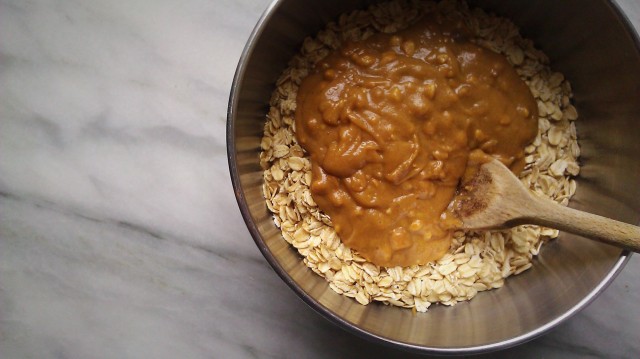
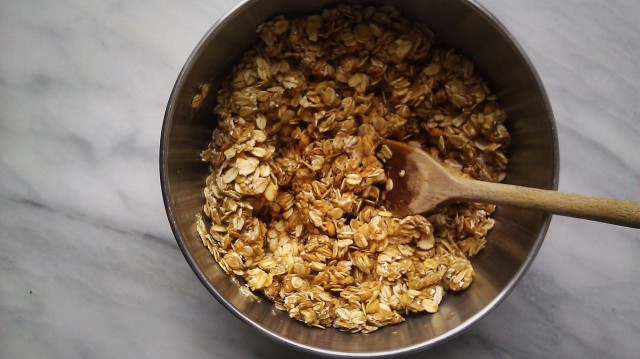
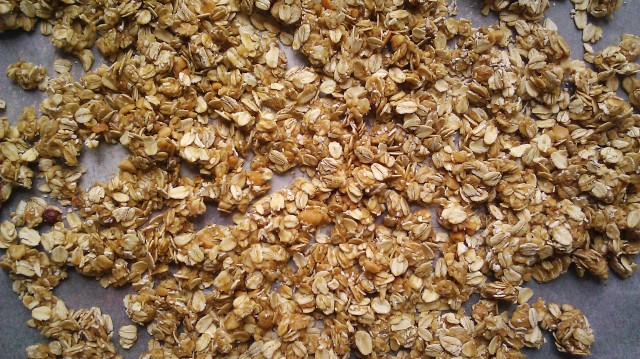
In a small saucepan, combine the peanut butter, sugar, honey, and salt.  Set over medium heat and warm until runny, about 3 minutes.  In a small bowl, pour in the oats; pour the runny peanut and honey mixture over the oats.  Using a wooden spoon, mix well until evenly combined.  Spread out on the baking sheet and bake in the preheated oven for 18-20 minutes, stirring halfway through.

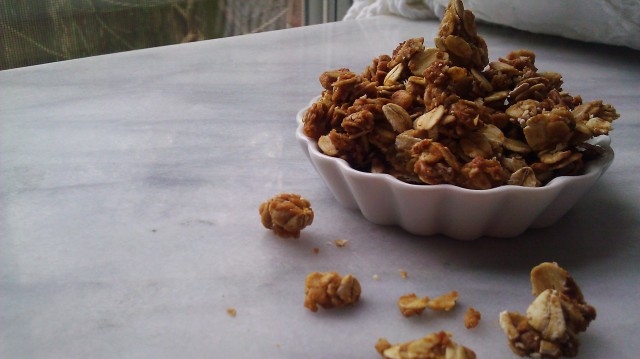
Once the granola is done, pull it out of the oven and sprinkle evenly with the fine flake sea salt.  Let cool completely without disturbing and store in an airtight container for up to one week.

Makes 2 cups

IMAG3408

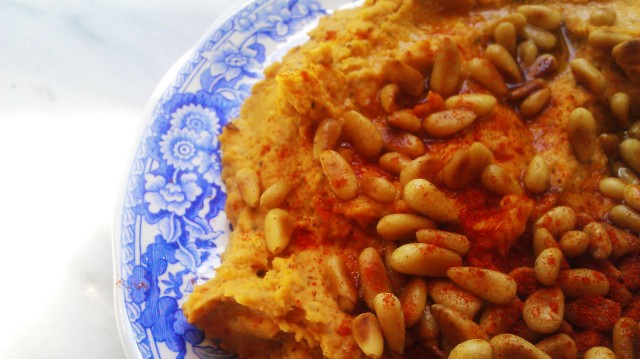
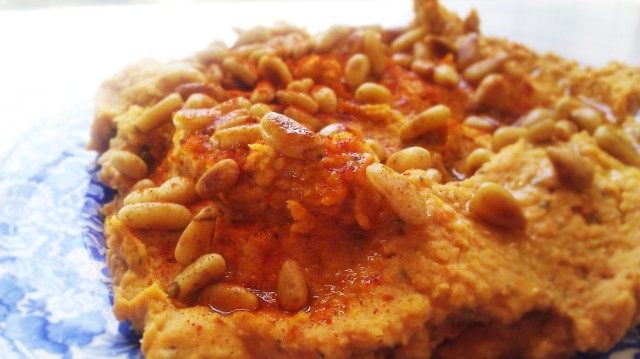
Pine Nut Paprika Houmous

IMAG3370

So today is the two year anniversary of happyspinach etc.  I really do wish I was more prepared for it (i.e., a cake recipe), but I just found out about it when I logged on to post this houmous recipe.  My blog certainly has come a long way since my first embarrassing post, and it has certainly been a long journey getting there.  I wouldn’t have stayed on that journey as long as I have had it not been for all of you and your continual support.  So thank you so much, darlings; I love you all.

IMAG3373

PINE NUT PAPRIKA HOUMOUS

If you don’t have access to pine nuts, you can easily substitute another rich and buttery nut, such as walnuts or Brazil nuts.
  • 35 grams / 2 heaping tablespoons pine nuts, toasted, plus more for garnish
  • 2 large garlic cloves, peeled
  • 430 grams / 1 3/4 cups cooked chickpeas, drained and rinsed
  • 1/8 teaspoon cayenne, or to taste
  • kosher salt, to taste
  • 1 heaping teaspoon sweet paprika
  • heaping 1/2 teaspoon dried oregano
  • heaping 1/2 teaspoon dried basil
  • 2 tablespoons freshly squeezed lemon juice
  • 2 tablespoons extra virgin olive oil, divided

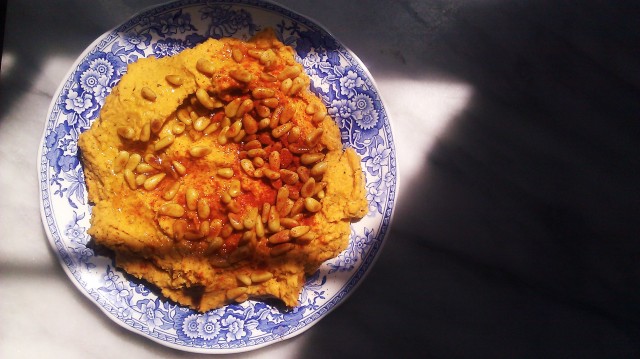
In a food processor, grind the pine nuts until they form a nut butter, scraping down the sides of the bowl as necessary.  Throw in your garlic cloves and grind with the pine nut butter until finely minced.  Throw in the chickpeas, cayenne, salt, paprika, oregano, basil, lemon juice, and 1 tablespoon of the olive oil.  Grind until smooth and, while the processor is still running, drizzle in the remaining tablespoon of olive oil.  Taste the houmous, and adjust the seasonings as necessary.  Serve with crudité on a plate sprinkled with pine nuts and paprika and drizzled with olive oil.
Makes approximately 480 grams

IMAG3375 (2)

Baked Turkey Meatballs

IMAG3272

So the other evening I did something I’ve never really, really done a lot of before.  I worked in the yard.  And when I say worked, I mean worked. I teamed up with my mum to tackle the bushes and hedges with hedge trimmers and chop them down to size.  We trimmed and sculpted the little bushes into tight and symmetrical spheres, I flattened the hedges to a near perfect plane, and we planned what to do to better the yard even more.  And after all of that manual labor, I’m really impressed with everything we got done.  There’s still a lot to be done of course (namely chopping down the hedges even further), but our yard is going to be pretty spiffy.

The whole experience was thoroughly inspiring, and now we’ve got a whole lot of ideas of what to do with the remaining beds in the front yard and the surplus in the back.  The back yard is what I’m most excited about because that is where we’re going to be putting together a lovely little vegetable plot–bush beans, sugar snap peas, cucumbers, zucchini, cherry tomatoes, peppermint, spearmint, basil, etc.  And, since we’ll be growing these darlings from seed, they’ll be significantly cheaper and healthier than their grocery store counterparts.

But now let us move on to the topic of these incredible meatballs.

IMAG3274

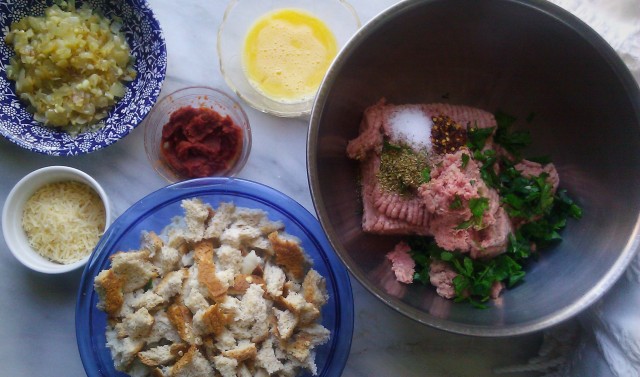
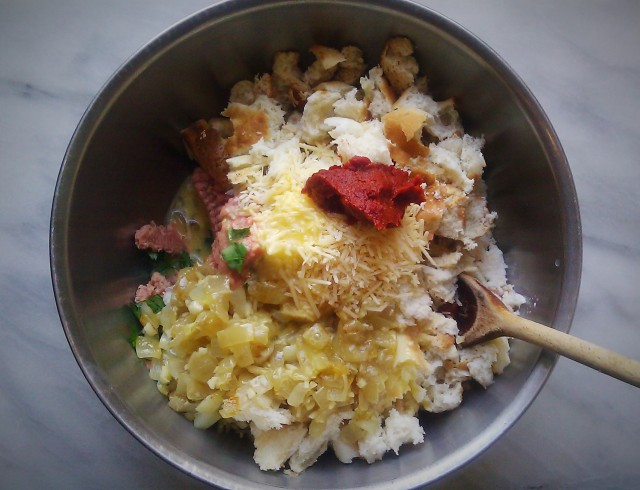
These meatballs are amazing, easy to make, and surprisingly tender and flavourful for being ground turkey.  As a whole, ground poultry can easily become bland and overcooked, but that is far from the case with these fellows.  The zesty mix of spices, parmesan, tomato paste, and fresh parsley make bring plenty of flavor while the bread and egg help make a tender yet substantial ball.  And then baking them in the sauce really is the finishing touch–there’s no residual fat to fry them in, they cook evenly, and the sauce reduces to and incredibly rich tomato flavour.

While meatballs are traditionally served with some sort of carbohydrate–on top of pasta or between two slices of bread–I really find that these can readily stand on their own.

Enjoy!

IMAG3275

BAKED TURKEY MEATBALLS

Recipe from Joy Wilson over at Joy the Baker.

  • 6 slices whole grain or Italian bread
  • 160 milliliters / 2/3 cup whole milk
  • 2 tablespoons olive oil
  • 1 onion, diced
  • 2 cloves garlic, minced
  • 915 grams / 2 pounds ground turkey
  • 2 large eggs, beaten
  • 1 teaspoon kosher salt
  • 1/2 teaspoon crushed red pepper flakes
  • 1 teaspoon dried oregano
  • 40 grams / 1/3 grated parmesan
  • 2 tablespoons tomato paste
  • 1/4 cup Italian flat leaf parsley, coarsely chopped
  • 3-4 cups tomato based pasta sauce

Preheat oven to 375 degrees F with racks in the center and upper third of the oven.

In a medium bowl, tear up the bread.  Pour milk over and allow to soak for about 5 minutes.

In a medium saucepan, heat the olive oil over medium heat.  Add in the onions and saute until golden brown, about 10 minutes.  Add in the garlic and saute another minute.

In a large bowl place in the turkey.  Squeeze out any excess milk from the bread and add the bread to the turkey (discard the milk).  Add in the eggs, salt, pepper flakes, oregano, parmesan, tomato paste, and flat leaf parsley.  Using a wooden spoon or your hands, mix everything together until evenly combined.

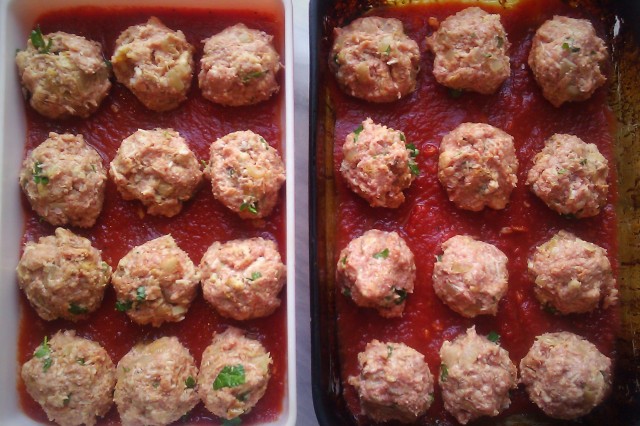
Pull out two 9 x 13 pans and pour about one cup of sauce into the bottom of each pan.  Using damp hands, form 24 meatballs out of the meat.  Each one will be about three tablespoons worth of meat.  Place 12 into each pan and top with a small spoonful of sauce.

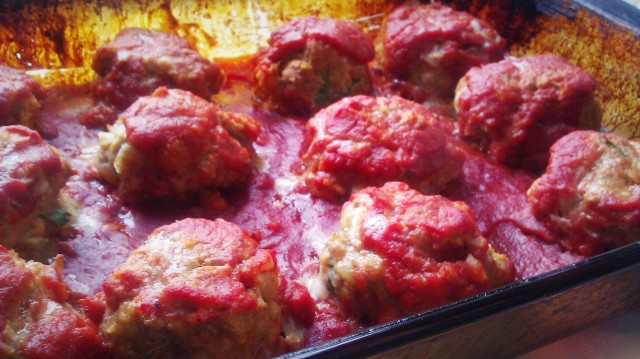
Place the meatballs in the oven and bake for about 25 minutes, or until everything’s bubbly and the meatballs are cooked through.  Serve with pasta or with a hearty green salad or just by themselves!  Leftovers will stay fresh wrapped well in the fridge for 4 days.

Serves 8-10

IMAG3279